Clavinet Parts
Fender Rhodes Parts
Wurlitzer Parts
Other
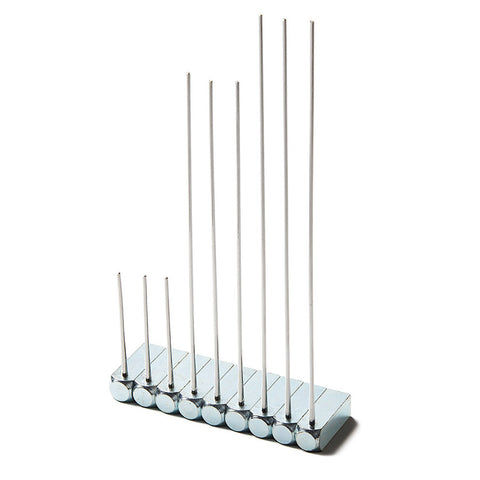
Fender Rhodes Tines
From $19.99
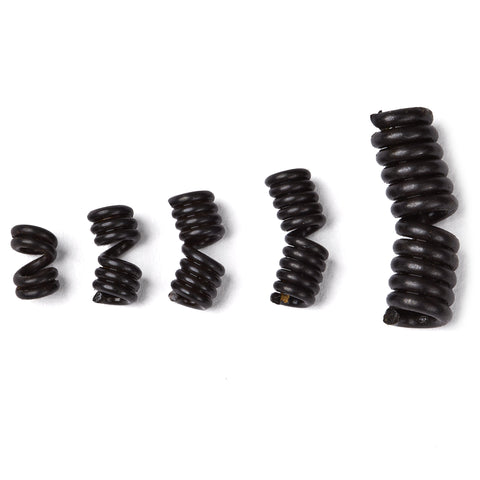
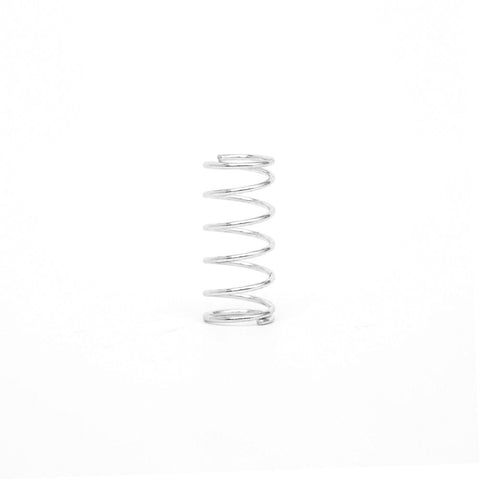
Fender Rhodes Tine Spring
Regular price $1.00
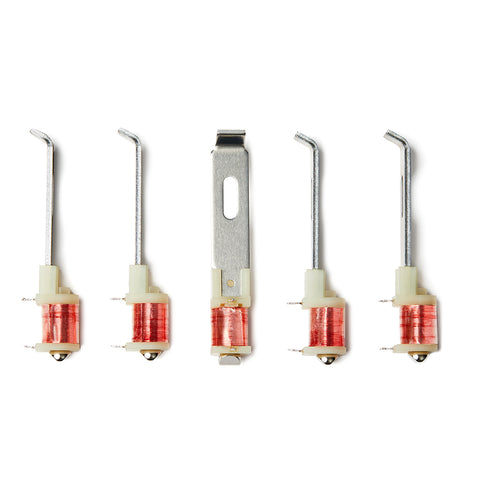
Fender Rhodes Pickups
From $13.99
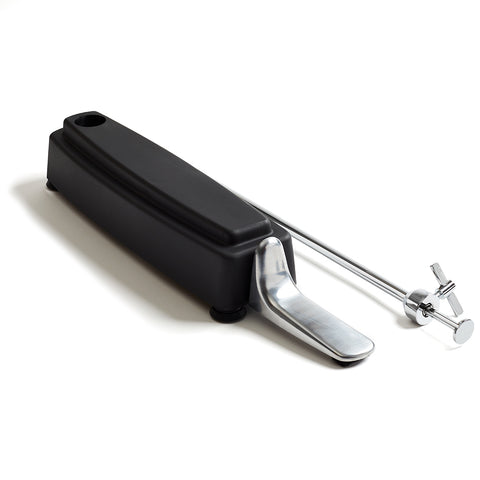
Fender Rhodes Sustain Pedal & Rod combo
From $159.00
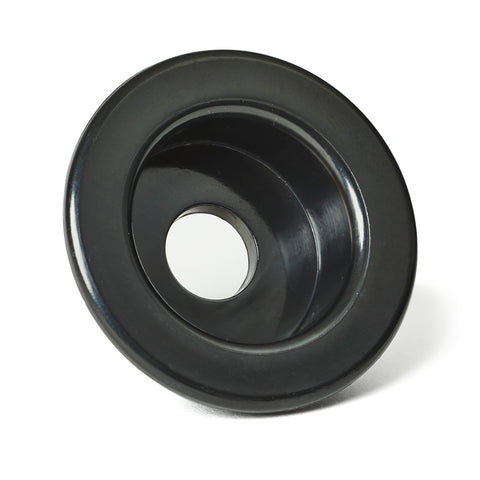
Fender Rhodes Sustain Guide Cup
From $4.99
Fender Rhodes Tuning / Utility Tool
Regular price $8.99
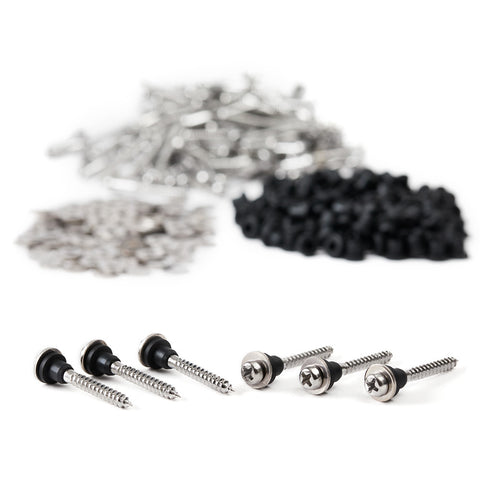
Fender Rhodes Tone Bar Screws and Grommet Kit
From $58.00
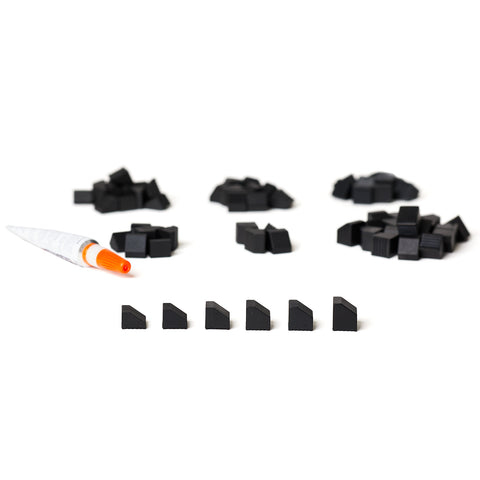
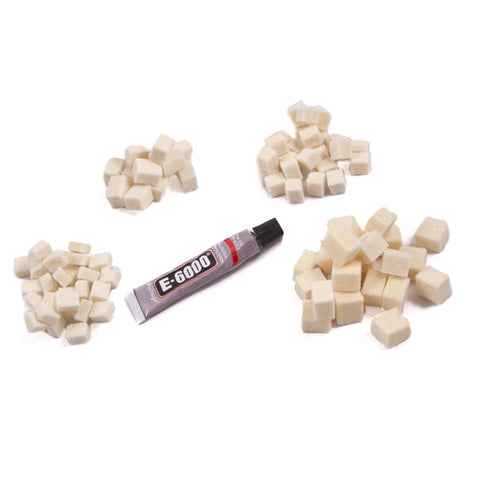
Fender Rhodes Hammer Tip Kit
From $59.99
R Rear Logo
Regular price $14.99
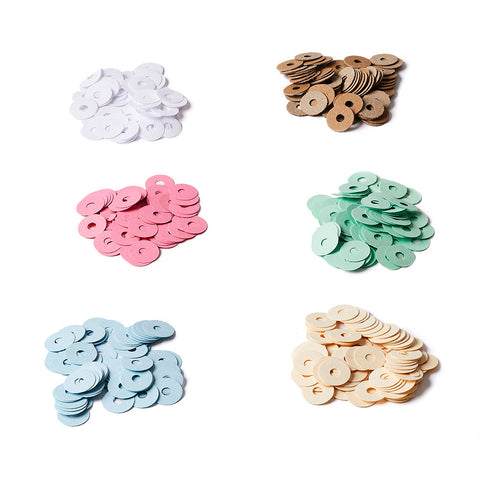
Key Shims
Regular price $14.00
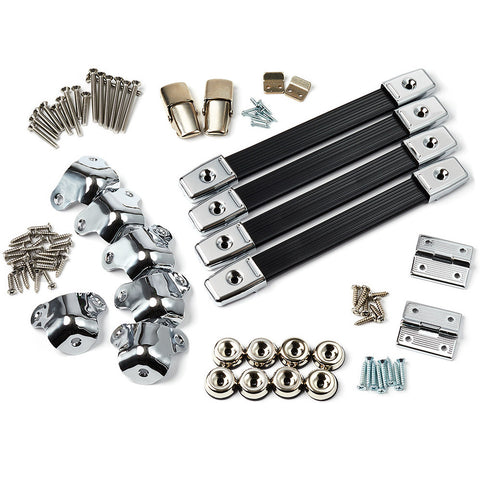
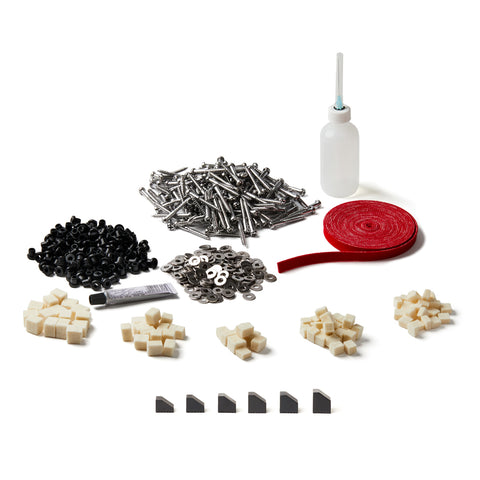
Fender Rhodes Hardware Kit
From $63.99
Fender Rhodes 73 Key Refurb Kit
From $159.99
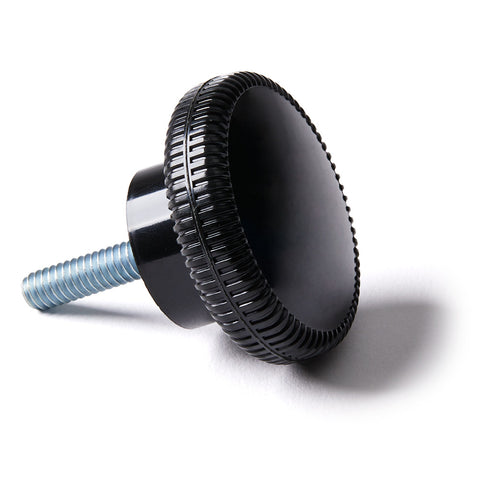
Fender Rhodes Cross Bar Knob
Regular price $12.99
Fender Rhodes Tone Bar Spring
From $0.50
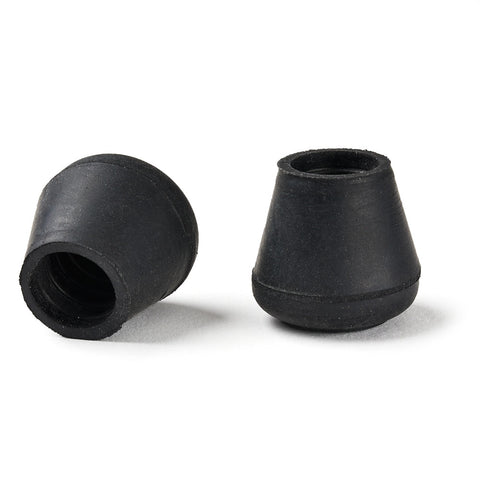
Fender Rhodes Stage Leg Feet
From $7.99
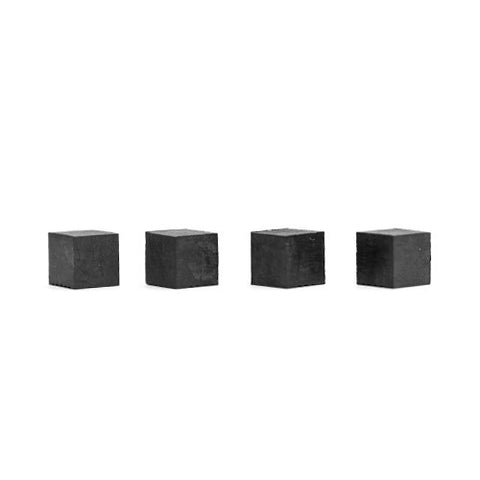
Fender Rhodes Damper Felt Kit
From $44.00
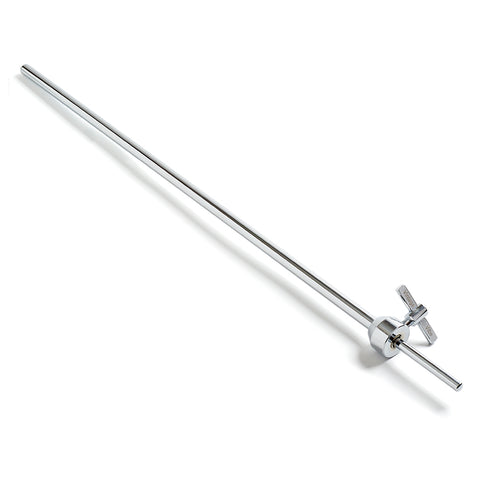
Fender Rhodes Sustain Rod
From $39.00
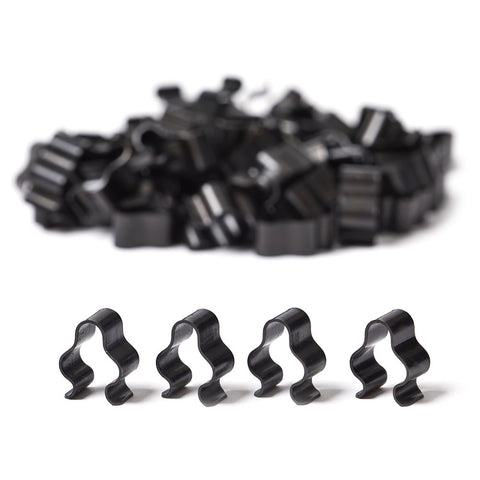
Fender Rhodes Tone Bar Clips
From $2.75
FR Lid Logo
Fender Rhodes Individual Hammer Tips
From $0.75
 Our piano website